The boilerplate includes ready-to-use HTML email templates and a flexible email configuration system. It uses Django's default email backend in development for easy debugging and integrates with Django Anymail in production for reliable email delivery through providers like Mailgun, Sengrid or Amazon SES.
Emails templates
Email Templates
The boilerplate includes several pre-configured email templates that are automatically triggered based on different user actions and events. These templates help maintain consistent communication with your users throughout their journey.
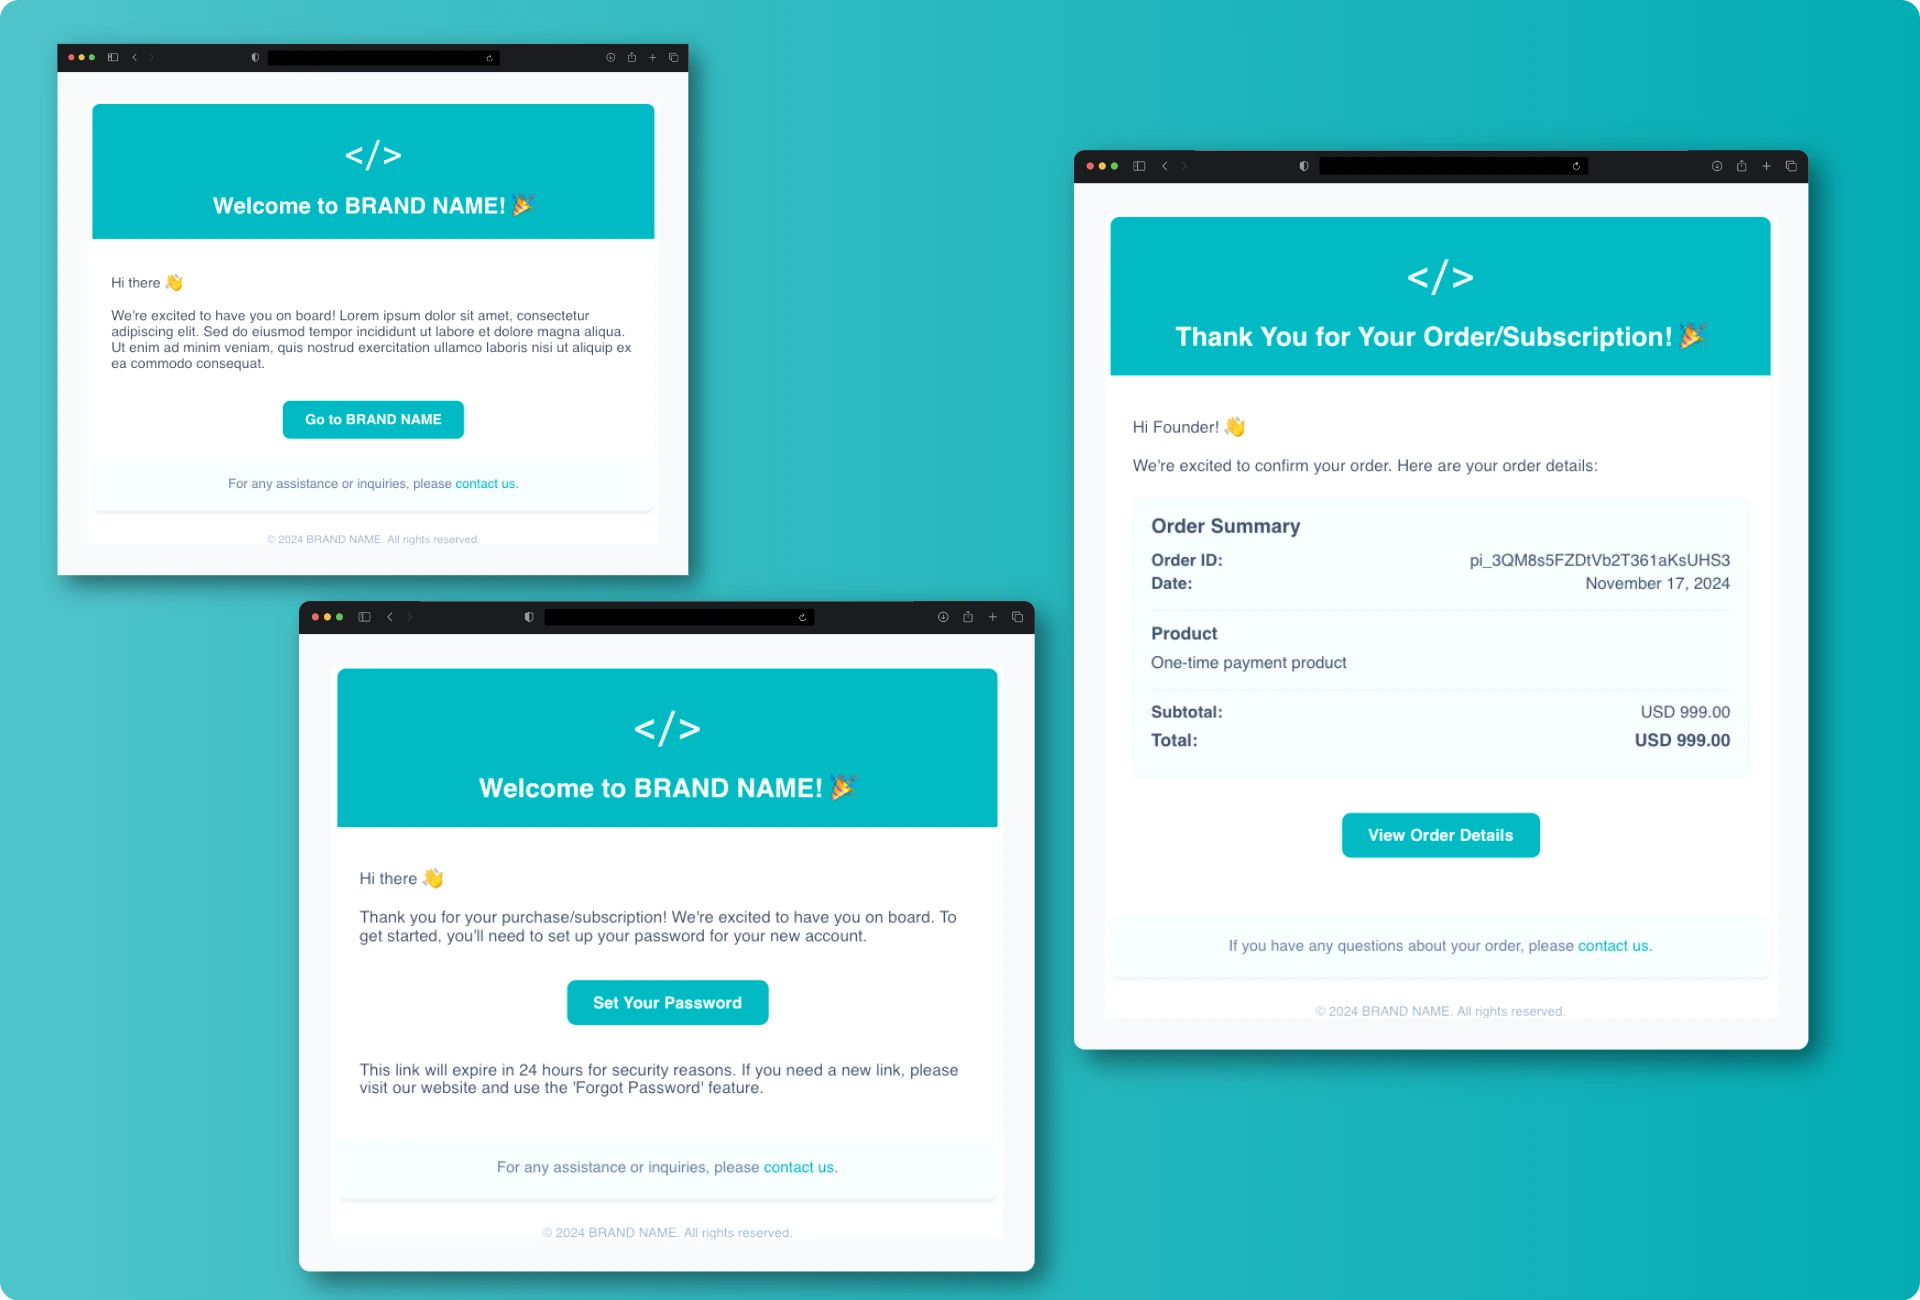
Welcome Email on User Sign-up
A welcome email is automatically sent to users when they create a new account. This email can be customized in both content and styling to match your brand.
Welcome email after signup template
Key files
saas/
├── templates/
│   └── emails_custom/
│       └── welcome_email_signup.html    # Email template
└── user/
    ├── signals.py                       # Email trigger logic
    └── apps.py                          # Signal connection
Implementation Details
1. Template Location
- Path:
templates/emails_custom/welcome_email_signup.html - This template contains both the HTML structure and styling for the welcome email
- Customize the content and design by modifying this file
2. Trigger Logic
- Path:
user/signals.py - The email sending is implemented using Django signals
- Triggers automatically after successful user creation
3. Signal Registration
- Path:
user/apps.py - Connects the signal handlers to the user creation events
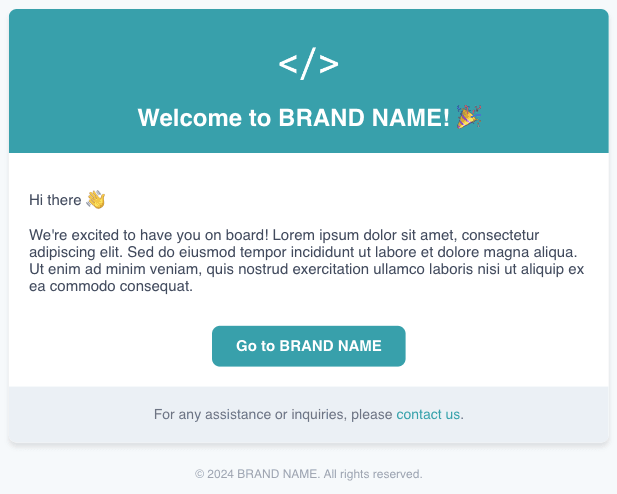
Welcome Email on New User Purchase or Subscription
A welcome email is automatically sent to users when they make their first purchase or subscribe. This email includes a secure link for users to set up their account password. The email template can be customized in both content and styling to match your brand.
Welcome email after purchase with password setup template
Key files
saas/
├── app_customer/
│   └── views.py                            # Triggers welcome email for one-time purchases
        └── send_welcome_email_with_password_setup()
├── app_subscriber/
│   └── views.py                            # Triggers welcome email for subscriptions
        └── send_welcome_email_with_password_setup()
├── templates/
│   └── emails_custom/
│       └── welcome_email_with_password_setup.html      # Email template
Implementation Details
1. Template Location
- Path:
templates/emails_custom/welcome_email_purchase.html - Contains HTML structure and styling for the welcome email
- Used by both one-time purchases and subscriptions
2. Trigger Logic
- One-time purchases:
app_customer/views.pyincheckout_success - Subscriptions:
app_subscriber/views.pyincheckout_subscription_success
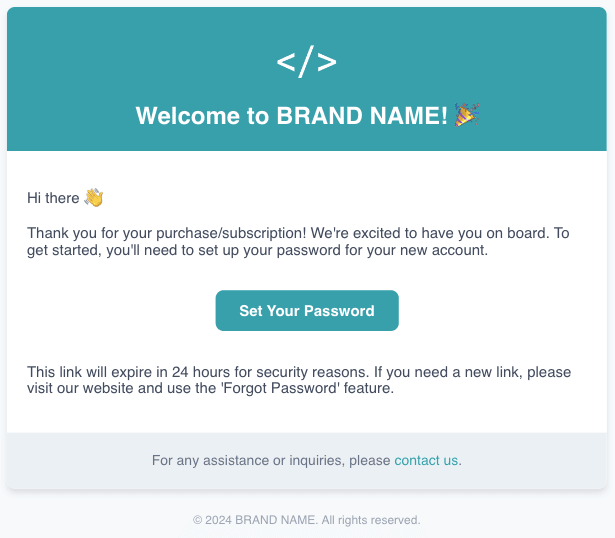
Order Confirmation Email on Existing User Purcharse or Subscription
An order confirmation email is automatically sent to existing users when they make a purchase or subscribe. This email includes a detailed summary of their order/subscription information, including product details, pricing, and transaction ID.
Order confirmation email template
Key files
saas/
├── app_customer/
│   └── views.py                            # Triggers confirmation email for one-time purchases
        └── send_order_confirmation_email()
├── app_subscriber/
│   └── views.py                            # Triggers confirmation email for subscriptions
        └── send_subscription_confirmation_email()
├── templates/
│   └── emails_custom/
│       └── order_confirmation_email.html    # Order Email template
│       └── subscription_confirmation_email.html    # Subscription Email template
Implementation Details
1. Template Location
- Path:
templates/emails_custom/order_confirmation_email.htmlortemplates/emails_custom/subscription_confirmation_email.html - Contains HTML structure and styling for the welcome email
2. Trigger Logic
- One-time purchases:
app_customer/views.pyincheckout_success - Subscriptions:
app_subscriber/views.pyincheckout_subscription_success
Subscription Payment Failed Email
A payment failure notification email is automatically triggered either when an immediate payment fails or when a renewal payment cannot be processed at the end of the subscription period.
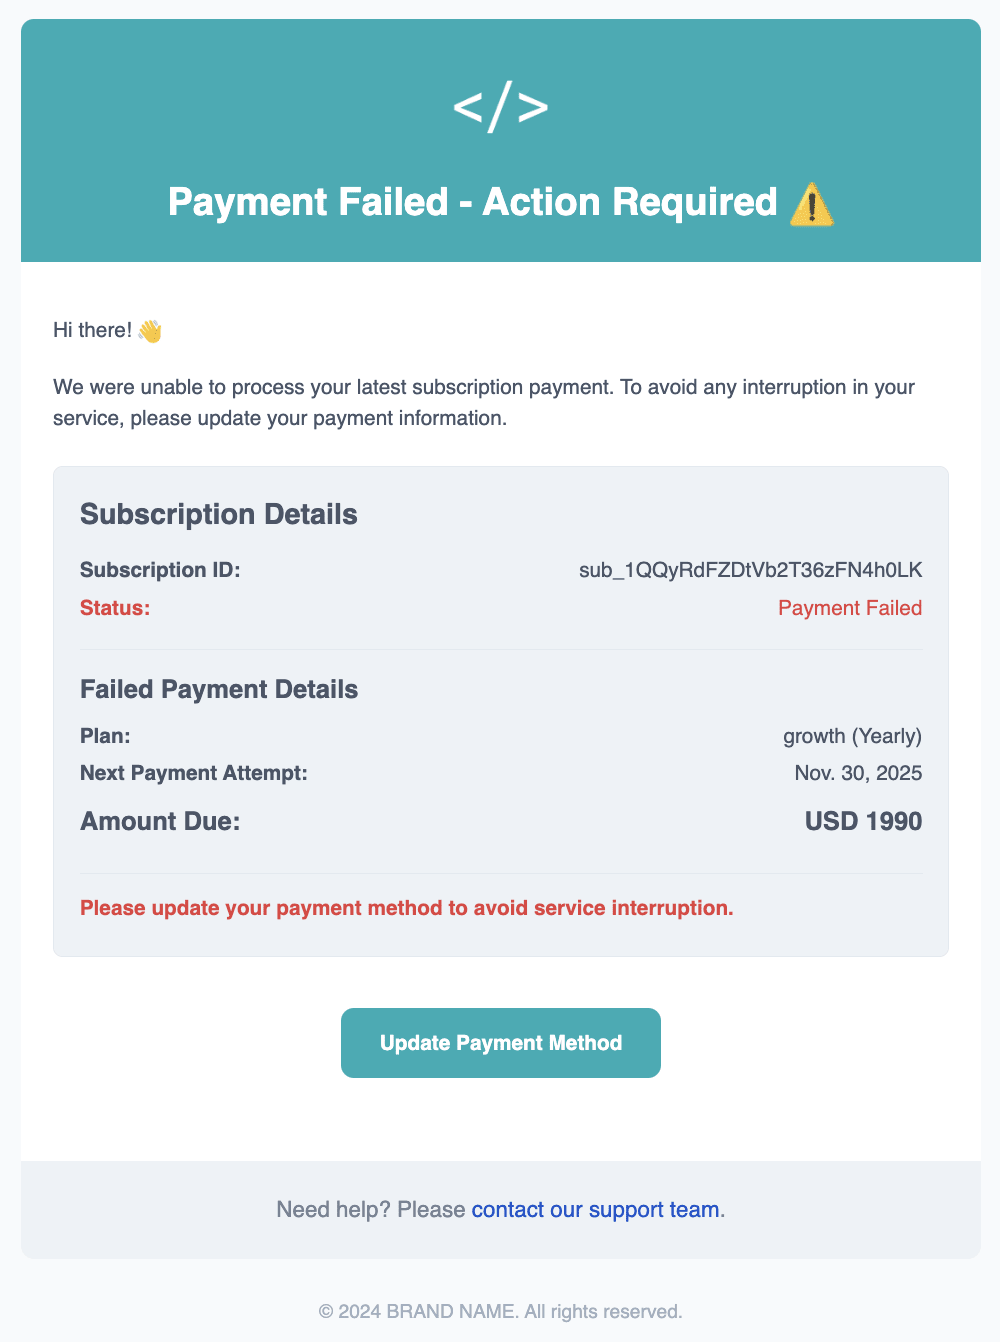
Subscription Failed email template
Key files
saas/
├── app_subscriber/
│   └── views.py                            # Triggers failed email for subscriptions
        └── send_payment_failed_email()
├── templates/
│   └── emails_custom/
│       └── subscription_failed_email.html    # Subscription Email template
Implementation Details
1. Template Location
- Path:
templates/emails_custom/subscription_failed_email.html - Contains HTML structure and styling for the welcome email
2. Trigger Logic
- Location:
app_subscriber/views.py - Triggered when:
- Initial payment fails
- Renewal payment fails at subscription period end
Mailgun
Mailgun is a transactional email service provider that enables applications to send automated emails such as welcome messages, order confirmations, and password reset notifications. The boilerplate integrates with Mailgun to handle all email communications reliably and at scale.
Create a Mailgun Account
Visit Mailgun's website and signup for a new account. Start with a free plan to test the platform.
New Mailgun accounts start in sandbox mode, which only allows sending to verified email addresses. To send to any recipient, you'll need to verify your domain.
API Mailgun (recommended)
Mailgun's API provides a robust and scalable way to send emails. This is the recommended method for both development and production environments.
1. Retrieve your API Key
- Go to your account settings > API Security
- Add a new key
2. Set environment variables
Configure your email settings by filling the following variables to .env file. These settings control the email backend configuration and Mailgun integration parameters:
# --------------------------------------------------------------------------------------------------------------
# ------------------------------------------ EMAILS SETTINGS ---------------------------------------------------
# --------------------------------------------------------------------------------------------------------------
# ------------------------------------------------ BASIC -------------------------------------------------------
# EMAIL_SETUP : dev, smtp, mailgun_api
EMAIL_SETUP=mailgun_api
DEFAULT_FROM_EMAIL='EMAIL NAME <YOUR_EMAIL@YOURBRAND.COM>'
SERVER_EMAIL=YOUR_EMAIL@YOURBRAND.COM
# ---------------------------------------------- MAILGUN  ------------------------------------------------------
MAILGUN_API_KEY=YOUR_MAILGUN_API_KEY
MAILGUN_SENDER_DOMAIN=YOUR_MAILGUN_SENDER_DOMAIN
# For US region: https://api.mailgun.net/v3 or for EU region: https://api.eu.mailgun.net/v3
MAILGUN_API_URL=https://api.mailgun.net/v3
For development setup, use Mailgun's sandbox domain
- Find your sandbox domain in the Mailgun dashboard (go to Send > Sending > Overview)
- Set
MAILGUN_SENDER_DOMAINto your sandbox domain (e.g.,sandbox123abc.mailgun.org) - Set
SERVER_EMAILandDEFAULT_FROM_EMAILto the sandbox email address provided by Mailgun (e.g.,mailgun@sandbox123abc.mailgun.org) - Add authorized recipients in the Mailgun dashboard to test email sending
- Use these authorized email addresses for testing
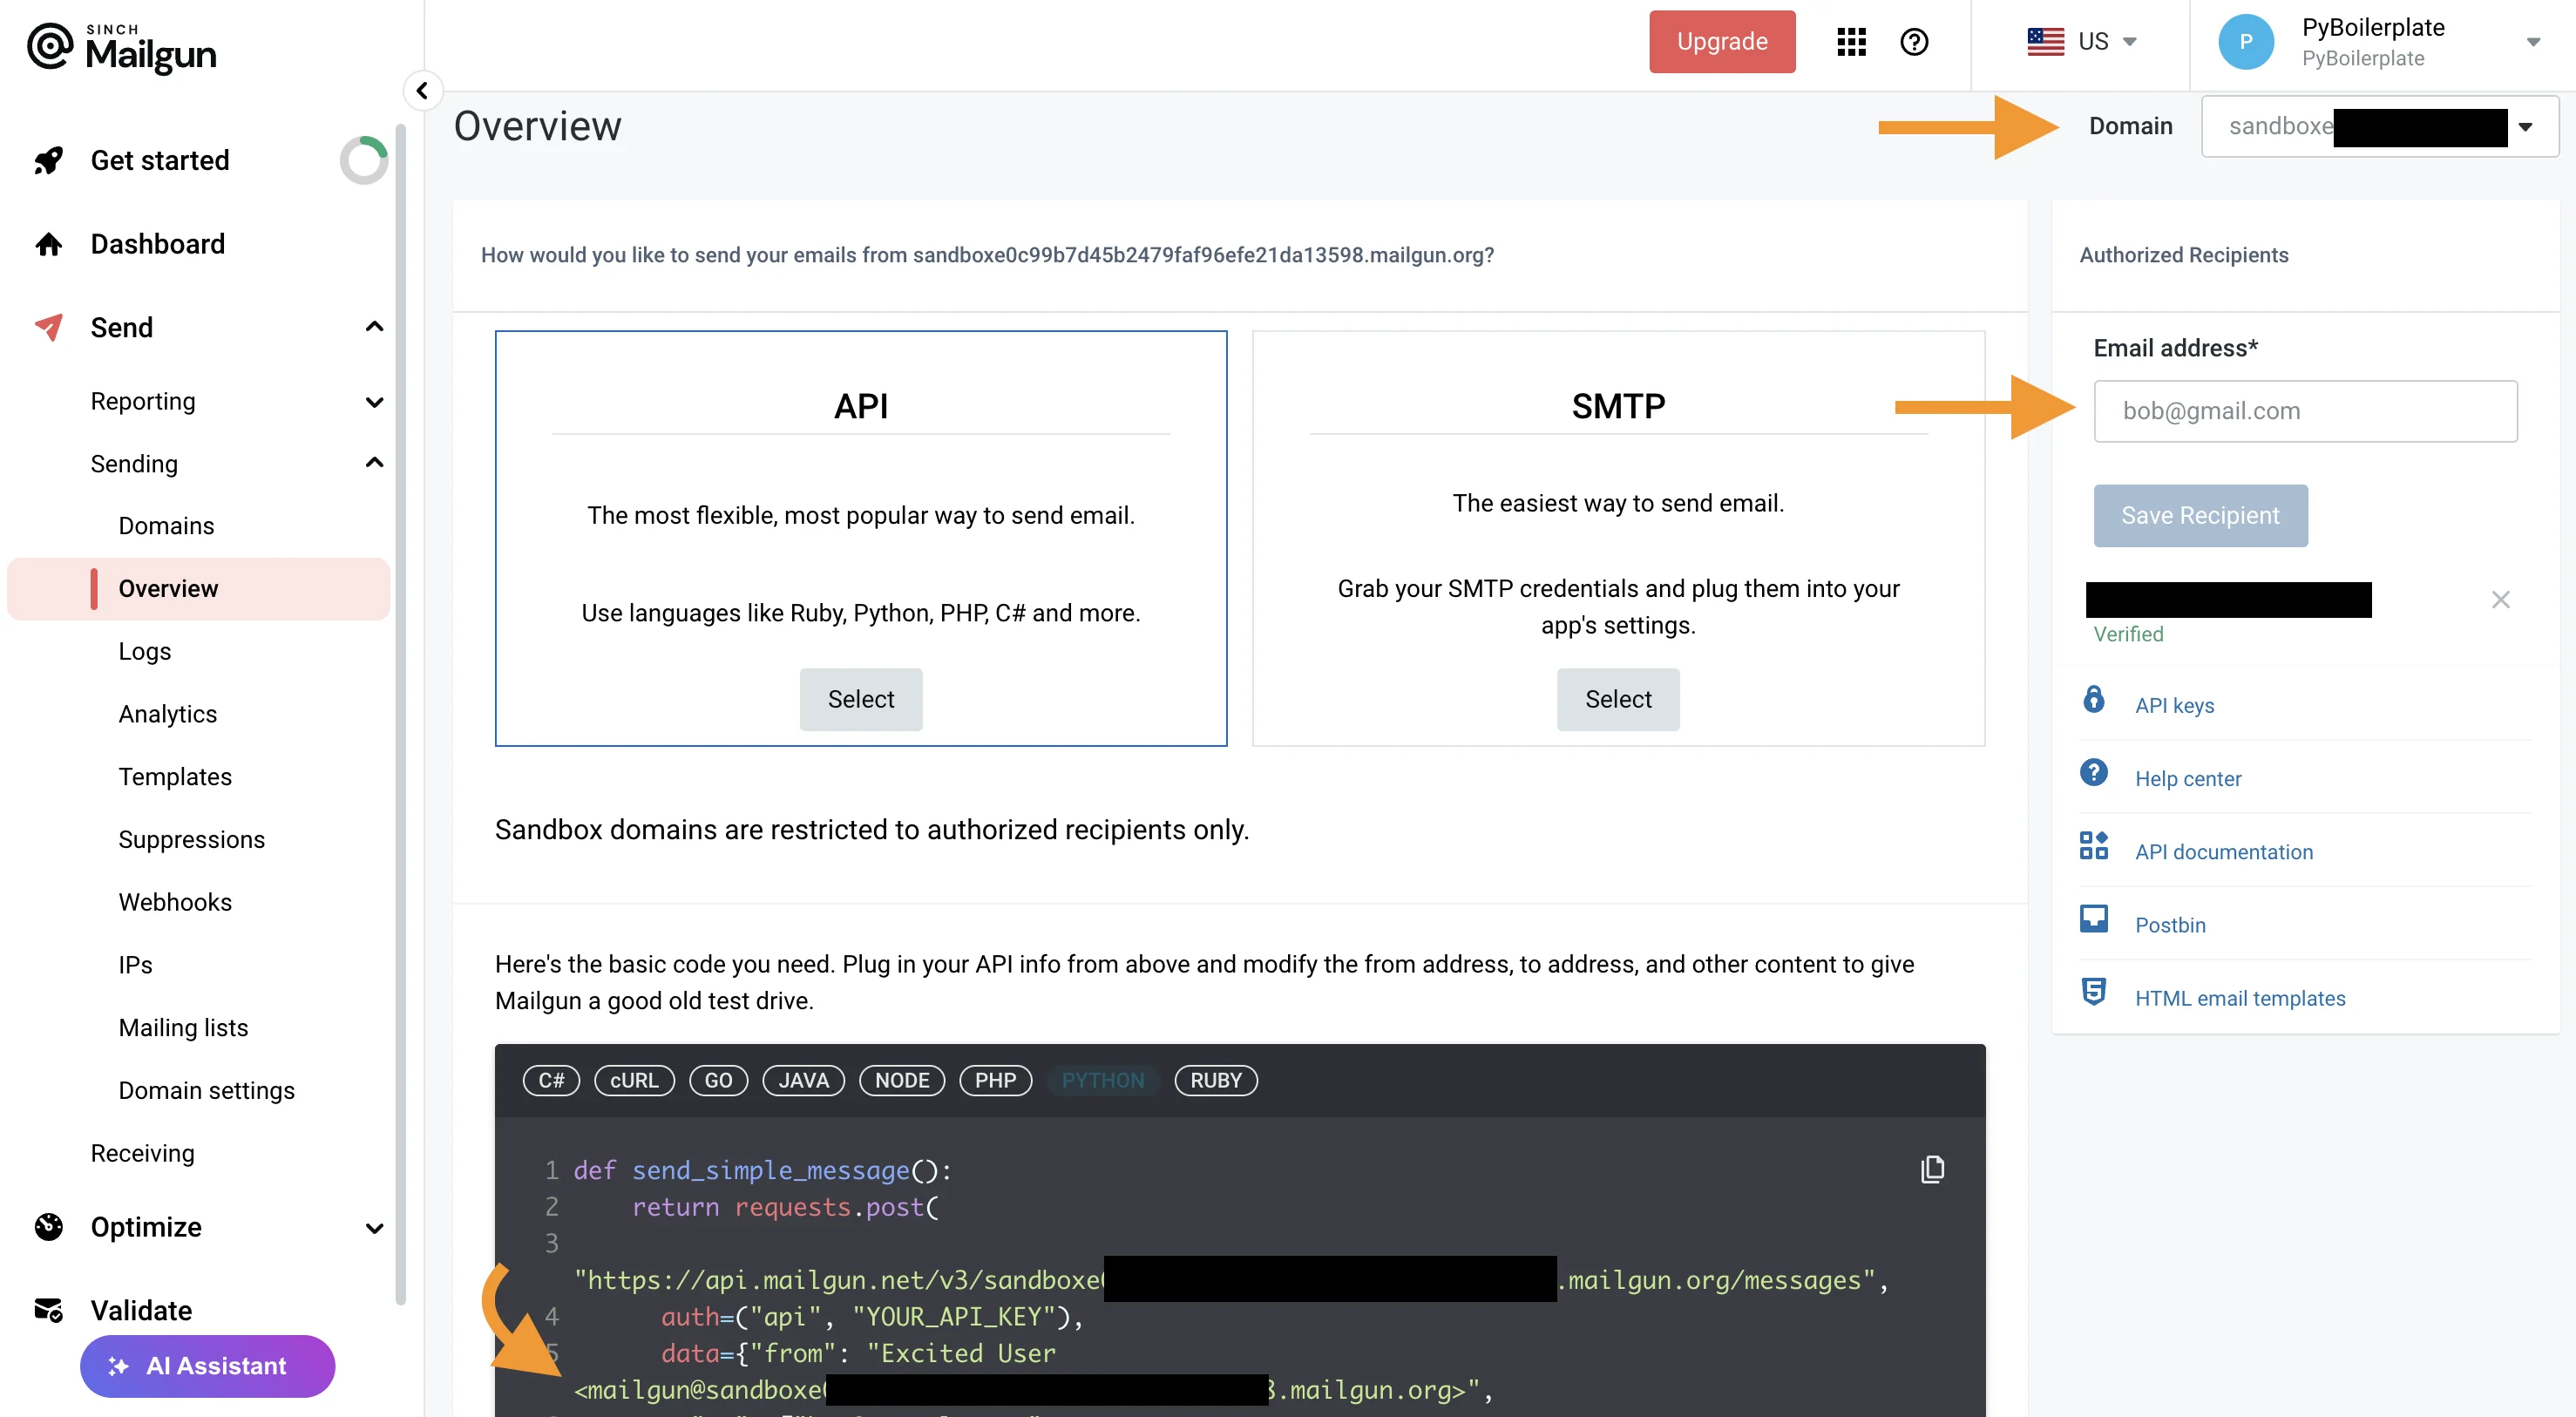
Mailgun Interface to retrieve Domain & set authorized recipients
For production setup, configure your verified domain
- Add your custom domain in the Mailgun dashboard (Send > Sending > Domains)
- Update
MAILGUN_SENDER_DOMAINto your verified domain (e.g.,mail.yourdomain.com) - Set
DEFAULT_FROM_EMAILto match your verified domain
Note: Make sure your domain's DNS records are properly configured with Mailgun's required DNS entries (MX, TXT, and CNAME records).
Finding Your API Keys: Locate your API credentials and SMTP settings
Adding a Custom Domain: Step-by-step guide for domain setup and verification
Namecheap DNS Setup: Configure DNS records in Namecheap for Mailgun
GoDaddy DNS Setup: Configure DNS records in GoDaddy for Mailgun
Email Redirection
Mailgun allows you to redirect all incoming emails to a specific email address through their Routes feature.
1. Configure Route in Mailgun Dashboard
- Navigate to "Receiving" > "Create Route"
2. Set up Route configuration